
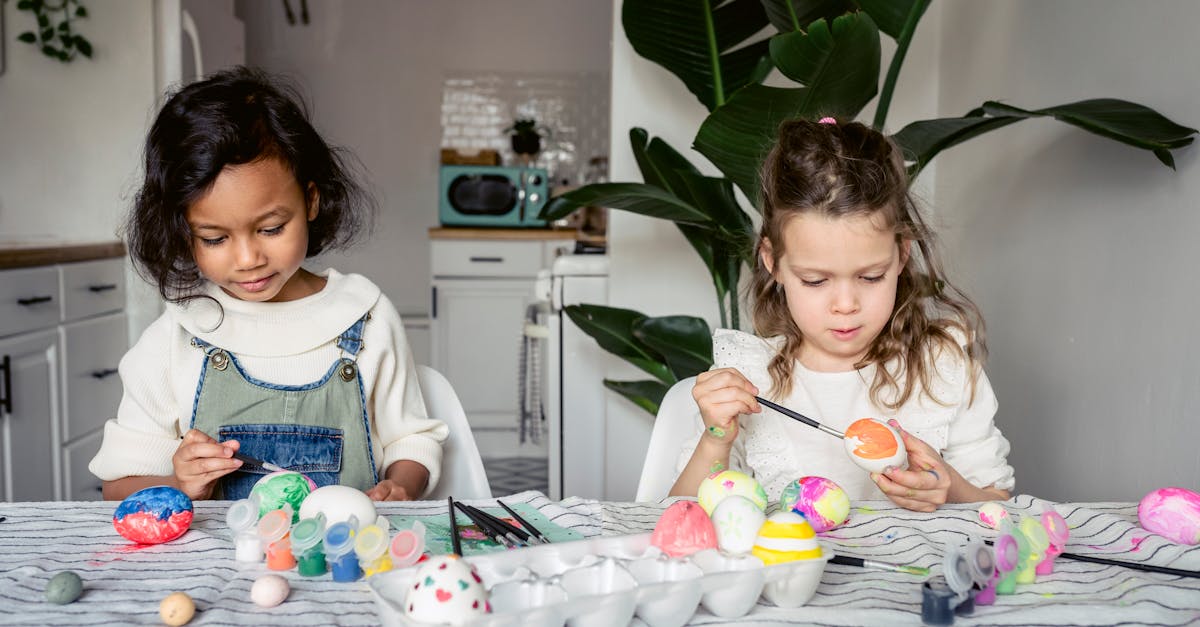
Every little chef deserves a kitchen of their own, and what better way to whip up imaginary feasts than with a DIY play kitchen? It’s not just a project; it’s a ticket to endless fun and creativity. Imagine the joy on their face as they stir up a storm in a space designed just for them. Plus, it’s a fantastic way to unleash your inner handyman—or handywoman—while crafting a masterpiece that sparks joy and imagination.
Table of Contents
ToggleBenefits Of A DIY Play Kitchen
Creating a DIY play kitchen offers numerous advantages for children’s development. Engaging in this project promotes imaginative play and strengthens creativity.
Enhancing Creativity
Crafting a play kitchen stimulates children’s imaginations. Kids design their unique cooking scenarios, selecting colors and materials that resonate with their personal tastes. Each build becomes a canvas for artistic expression, as they customize accessories and play food. Adding a DIY kitchen encourages experimentation and innovation in their pretend cooking adventures. Efforts in construction also reinforce problem-solving skills, helping them navigate challenges while enhancing their creative abilities.
Encouraging Role Play
A DIY play kitchen fosters role-playing opportunities for children. By mimicking real-life scenarios, they explore different roles, such as chef or restaurant owner. Engaging with peers in this setup strengthens social skills and teamwork. Children learn to communicate, negotiate, and collaborate during imaginative cooking sessions. These interactions create invaluable lessons in empathy and perspective-taking, helping them understand various viewpoints while having fun.
Essential Materials Needed
Gathering the right materials is crucial for building a DIY play kitchen. Having everything on hand ensures a smoother crafting process.
Tools Required
Basic tools include a drill, screwdriver, and saw. A measuring tape helps achieve accurate dimensions. Safety goggles protect the eyes during cutting. Sandpaper smooths edges for safe play. A level ensures stability in the final structure. Collecting these tools beforehand enhances efficiency and promotes safety.
Recommended Supplies
Use sturdy plywood or MDF for constructing the kitchen frame. Opt for non-toxic paint to create a vibrant design. Purchase knobs and handles to mimic real kitchen appliances. Plastic containers serve as storage for play food. In addition, consider fabric for curtains or cushions, adding a cozy touch. Selecting high-quality materials prevents wear and encourages long-lasting play.
Step-By-Step Guide To Building A DIY Play Kitchen
Creating a DIY play kitchen involves several steps, starting from planning the design to constructing the base. This guide breaks down each part for clarity.
Planning Your Design
Begin by deciding on the overall layout. Consider the size of the play kitchen, ensuring it fits the available space and is suitable for children’s height. Draw a simple sketch outlining features like the stove, sink, and countertops. Choose a theme or color scheme that matches your child’s interests. Select functional accessories, such as knobs and handles, to enhance the authentic look. Including storage options in the plan keeps things organized, fostering a more engaging play environment.
Constructing The Base
After finalizing the design, gather the necessary materials. Use sturdy plywood or MDF for the play kitchen’s base, ensuring durability during play. Cut the wood according to the measurements from your design. Assemble the sides, back, and base using screws to create a stable structure. Adding a top surface will improve the work area for little chefs. Secure everything tightly, ensuring it can withstand everyday use. Optionally, sand down any rough edges to keep it safe for children during play.
Decorating Your DIY Play Kitchen
Decorating a DIY play kitchen enhances the playful environment. It inspires creativity while allowing children to engage more deeply in their imaginative play.
Choosing Colors And Themes
Selecting colors and themes sets the mood for the kitchen. Bright colors like red, yellow, and blue stimulate excitement, while softer pastels create a calming atmosphere. Choosing a theme, such as a farmhouse or modern café, adds personality. Mixing and matching colors can yield a vibrant look while maintaining harmony. Paint non-toxic finishes as safety takes precedence. Adding wall decals, like fruits or vegetables, can increase visual appeal without overwhelming the space. Children connect with environments that reflect their personalities, so personalization matters.
Adding Accessories And Details
Incorporating accessories brings the play kitchen to life. Including pots, pans, and utensils helps simulate real cooking experiences. Choosing realistic knobs and handles enhances authenticity and encourages imaginative play. Integrating storage solutions, like baskets or shelves, promotes organization while being visually appealing. Customizing items with labels or stickers offers extra engagement for children. Including a play food set adds variety and promotes cooperative play among peers. Attention to details transforms a simple kitchen into a vibrant hub of creativity.
Tips For Customizing Your DIY Play Kitchen
Customizing a DIY play kitchen elevates the imaginative experience for children. Enhancing personal touches creates a truly unique cooking environment.
Personalizing Features
Choosing colors that reflect a child’s preferences adds warmth to the play kitchen. Adding custom signs can personalize the space, making it feel like a real restaurant or café. Incorporating favorite themes, such as pirates or fairies, captures a child’s interests and sparks imagination. Using chalkboard paint allows kids to write menus or notes, encouraging creativity during play. Finally, integrating family photos or mementos fosters a sense of belonging, making the kitchen a cherished part of their world.
Incorporating Learning Elements
Infusing educational aspects into the play kitchen enhances cognitive skills. Adding measuring cups helps teach basic math concepts, such as fractions and volume. Including a small calendar promotes lessons in days, weeks, or even menu planning. Positioning a variety of cooking utensils introduces vocabulary related to cooking and food preparation. Implementing a timer offers a fun way for children to practice time management while awaiting their culinary creations.
Creating a DIY play kitchen is more than just a fun project; it’s an investment in a child’s creativity and development. This unique space allows children to explore their imaginations and engage in role-playing activities that enhance social skills. By involving them in the crafting process, adults not only express their own creativity but also foster a deeper bond with their children.
With the right materials and thoughtful design, a DIY play kitchen can transform into a vibrant hub for imaginative play. Personal touches and educational elements can further enrich the experience. Ultimately, this project offers endless opportunities for joy and learning, making it a worthwhile endeavor for any family.


